Ceiling water damage can cause significant issues in your home if not tackled quickly. We will help you understand the importance of timely repairs, identify the signs of damage, and walk you through the process of fixing it yourself. Additionally, we will discuss why it is important to consider professional water damage restoration Ogden services or any other reliable service near you, to help you tackle ceiling water damage repair.
Identifying Ceiling Water Damage
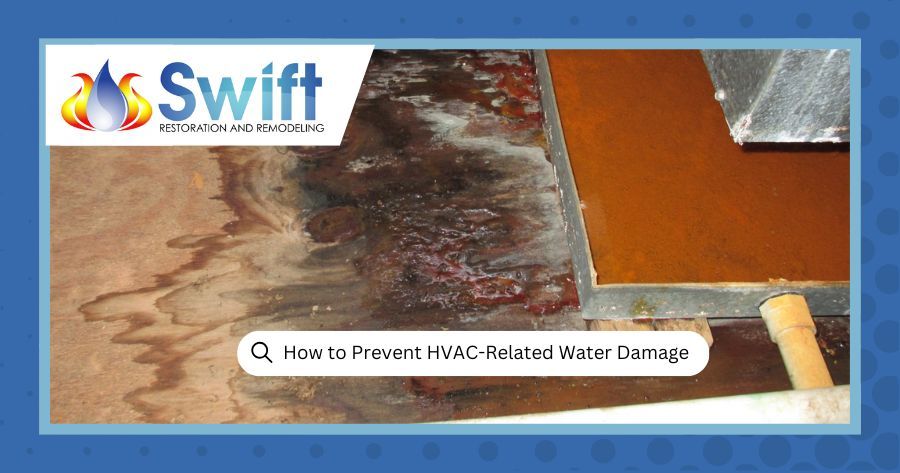
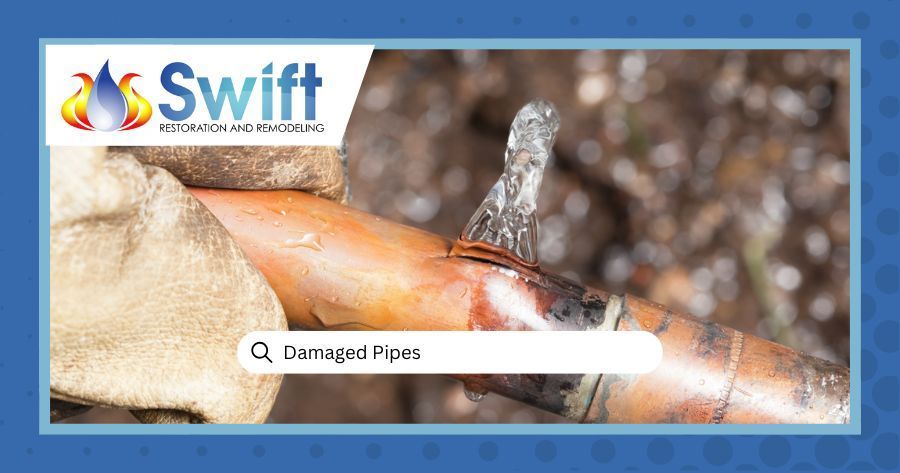
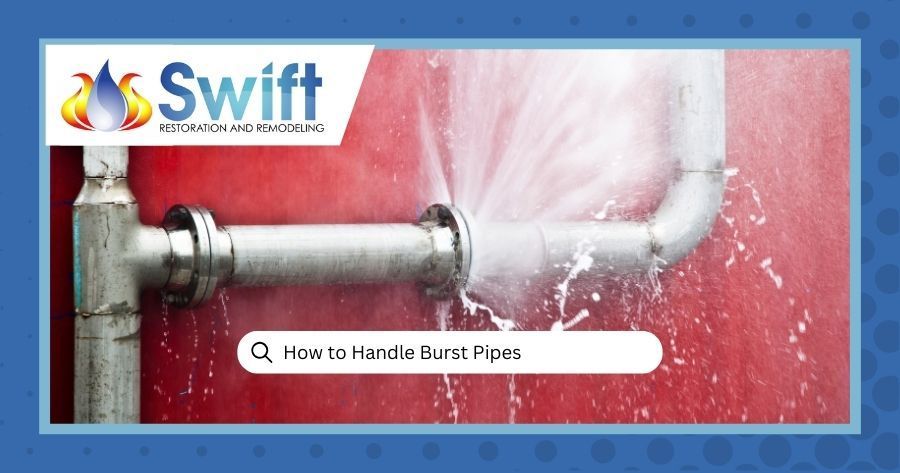
Common causes of water damage ceiling issues include leaky roofs, plumbing problems, condensation due to poor ventilation, and malfunctioning appliances like washing machines or air conditioners. Understanding these causes can help you take preventative measures to avoid future damage. Ceiling water damage can manifest in different ways:
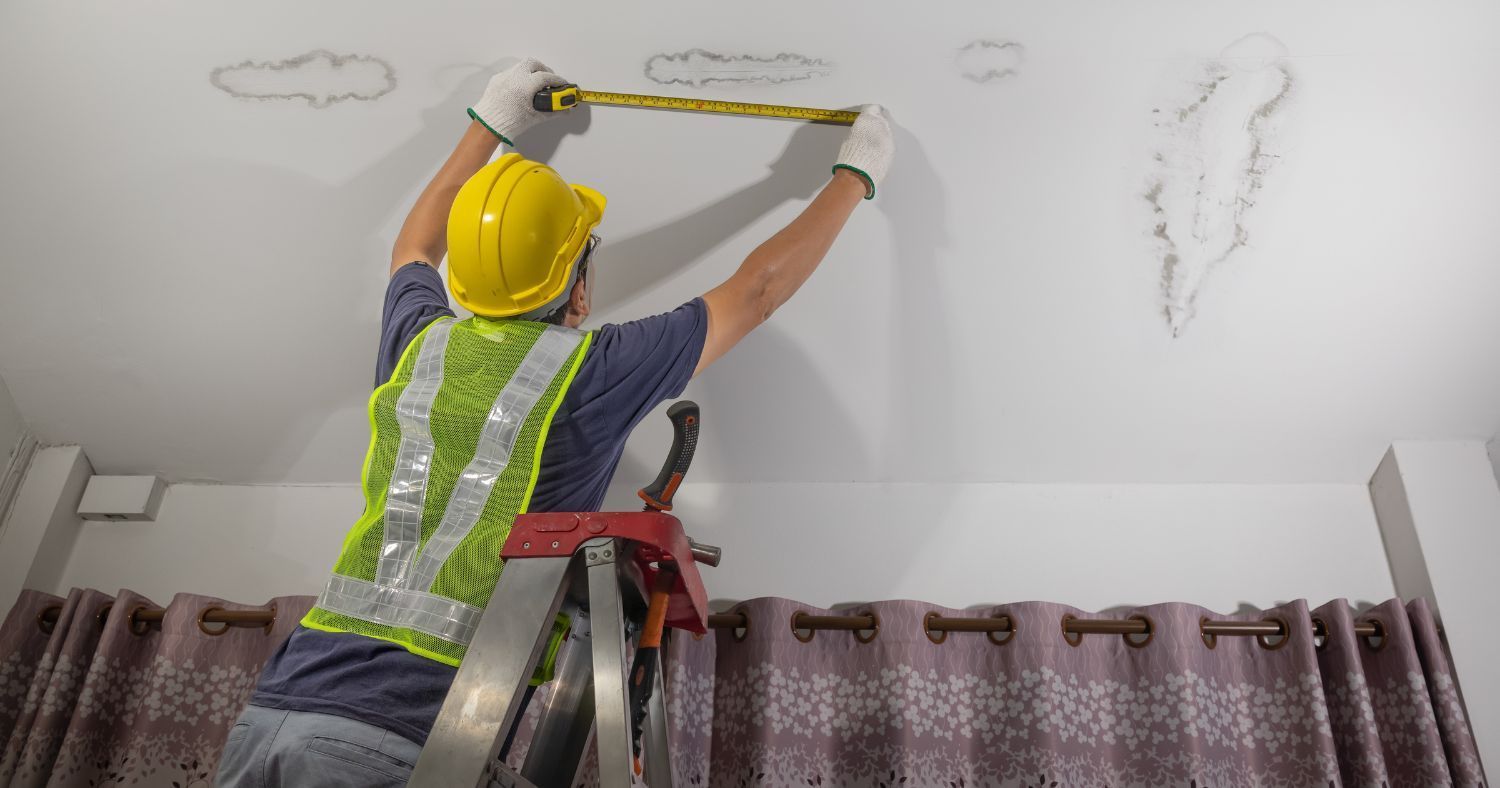
- Discoloration: It often appears as yellow, brown, or copper-colored spots on the ceiling.
- Peeling paint or wallpaper: It points to areas where moisture has compromised the adhesive.
- Sagging ceilings: Sagging ceilings happen when water has soaked into the material, causing it to droop.
- Mold growth:
Mold may appear as black, green, or white spots, and is often accompanied by a musty smell.
Initial Assessment and Preparation
Before you begin repairs, it's important to assess the extent of the damage. Start by examining the area for signs of mold, discoloration, and structural damage. Using a moisture meter can help you determine how damp the ceiling is, which is very important for deciding the next steps. Safety precautions are key when dealing with water damage. Make sure the power is off to avoid electrical hazards. Wear protective gear and cover furniture and floors with plastic sheets or tarps to prevent further damage.
Step-by-Step Guide: How to Fix Water Damage on Ceiling
How to fix water damage in ceiling? Repairing ceiling water damage requires careful attention and precise steps to make sure the job is done correctly. Here’s how to fix a ceiling that has water damage by following our detailed guide:
Step 1: Remove Damaged Materials
The first step in fixing ceiling water damage is to carefully cut out the damaged portion of the ceiling. Use a utility knife or drywall saw to cut along the edges of the damaged area. Make sure to cut into dry, undamaged ceiling material to make sure all compromised sections are removed. Start by marking the area with a pencil to outline the damaged area, making it easier to cut. Carefully cut along the pencil line with the utility knife or drywall saw, being cautious to avoid cutting into any electrical wires or plumbing hidden behind the ceiling. If there is any wet insulation above the ceiling, remove it carefully since wet insulation can carry mold and mildew.
Step 2: Dry the Affected Area
Thoroughly drying the affected area is very important to prevent mold growth and ensure a stable base for repairs. Position fans around the room to direct airflow towards the damaged area and use dehumidifiers to remove moisture from the air. If the weather allows, open windows to increase ventilation and speed up the drying process.
Step 3: Repair or Replace the Damaged Sections
Depending on your ceiling type, you will either repair or replace the damaged sections:
- Drywall ceilings: Cut a new piece of drywall to fit the hole, making sure it is slightly smaller than the hole for a snug fit. Secure the new drywall piece with screws, making sure they are flush with the surface. Apply joint compound over the seams and screws using a putty knife, feathering the edges to blend it with the surrounding ceiling. Once the joint compound is dry, sand the area with fine-grit sandpaper until smooth.
- Plaster Ceiling: Prepare the plaster mix according to the manufacturer’s instructions. Apply the plaster mix to the damaged area using a plaster trowel, ensuring an even application. Allow the plaster to dry completely, which may take several hours to a full day depending on the product used. Once dry, sand the area to achieve a smooth finish.
Step 4: Apply Primer and Paint
The final step is to apply primer and paint to match the repaired area with the rest of the ceiling. Begin by sanding the repaired area to make sure it is smooth, then wipe away any dust with a damp cloth. Apply a high-quality primer to seal the repaired section and allow it to dry completely as per the manufacturer's instructions. Finally, choose a paint color that matches your existing ceiling and apply it using a paintbrush or roller, blending the edges with the surrounding area. Multiple coats may be necessary for complete coverage.
Preventing Future Water Damage
Preventative measures can save you from future repairs. Regular inspections of your roof, pipes, and appliances can help you catch potential issues early. Make sure areas like bathrooms and kitchens are well-ventilated to prevent moisture build-up. Keep gutters and downspouts clear to avoid overflow that can lead to water damage.
Hiring Professionals for Ceiling Water Damage Repair
While DIY repairs can be successful, some situations require professional expertise. Extensive damage, widespread mold infestation, and persistent problems despite multiple repairs are signs that it’s time to seek professional help. Hiring professionals for ceiling water damage repair brings several benefits. Experts provide quality services that stand the test of time. Professionals also tackle underlying issues to prevent future damage.
Contact Swift Restoration and Remodeling for the Best Water Damage Solutions
When water damage strikes, Swift Restoration and Remodeling is your trusted partner for quick and successful solutions. Contact us today to restore your home with expert care and professional service. You can do so by calling us at (385) 402-8275 or filling out an online form on our website.